
Let's do a quick recap of this week's posts. Monday I posted a guide on how to get alerts when your AWS bill exceeds a specific amount. On Tuesday I shared steps on setting up alerts for when your AWS cost varies from the expected amounts. Today we'll be going over how to setup monitoring to alert you if AWS bill is expected to go above a specified threshold.

All 3 of these guides do similar things, they're designed to keep your AWS bill in check. The difference is some of them will give you more warning than others and provide different information for you to act upon. Down the line you might fine one or more of these tools to be ineffective, but when starting out in the cloud it's definitely better to have more eyes on your billing than not enough.
This guide is divided into 2 parts:
- Enabling the billing alerts for your AWS account
- Creating the monitor
(NOTE: Amazon does provide a very concise guide for this if you don't need pictures.)
Enabling Billing Alerts
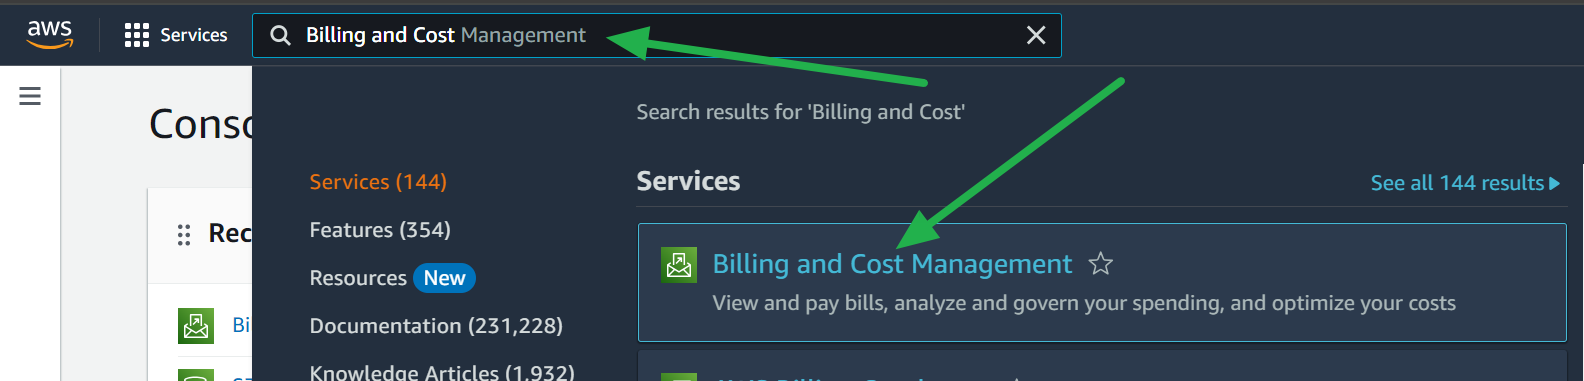
- Login to the AWS Console and search for Billing and Cost Management then navigate to it.
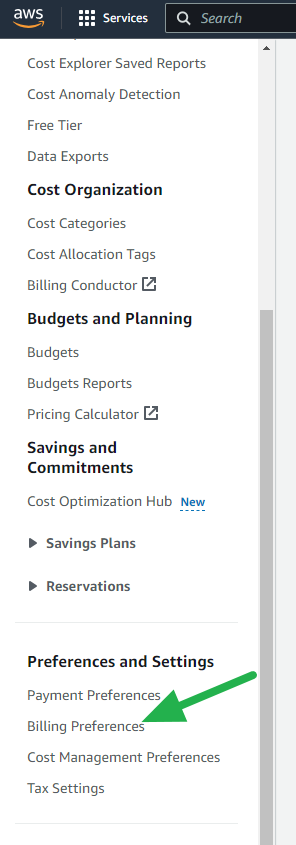
- Click on Billing preferences in the lefthand menu.
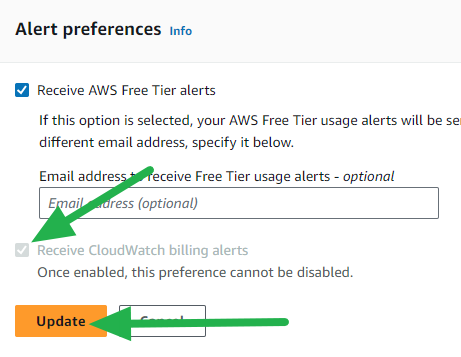
- Find Alert preferences and click the Edit button.

- Check the box next to Receive CloudWatch Billing Alerts and click the Update button.
Once the CloudWatch Billing Alerts are enabled for your account you can now create actual alerts.
Create a Billing Alert in CloudWatch
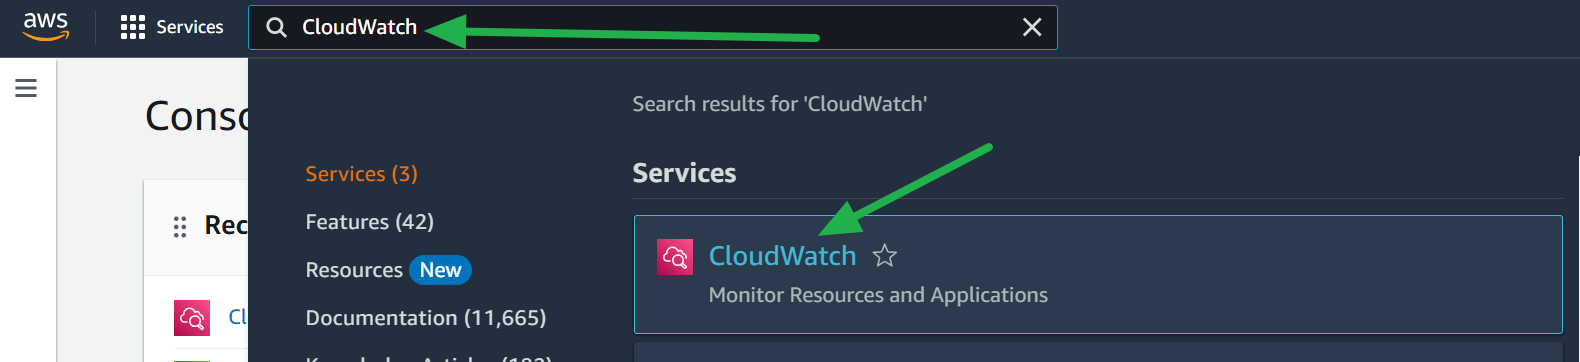
- Login to the AWS Console and search for CloudWatch then navigate to it.
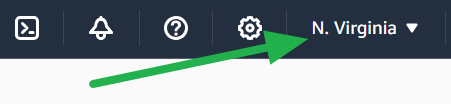
- Change your region to US-East-1 (N. Virginia) since this is the main region for all billing related monitoring.
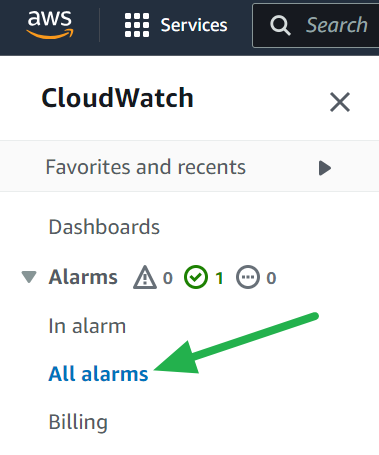
- Navigate to All alarms in the lefthand menu.
- Click the Create alarm button.

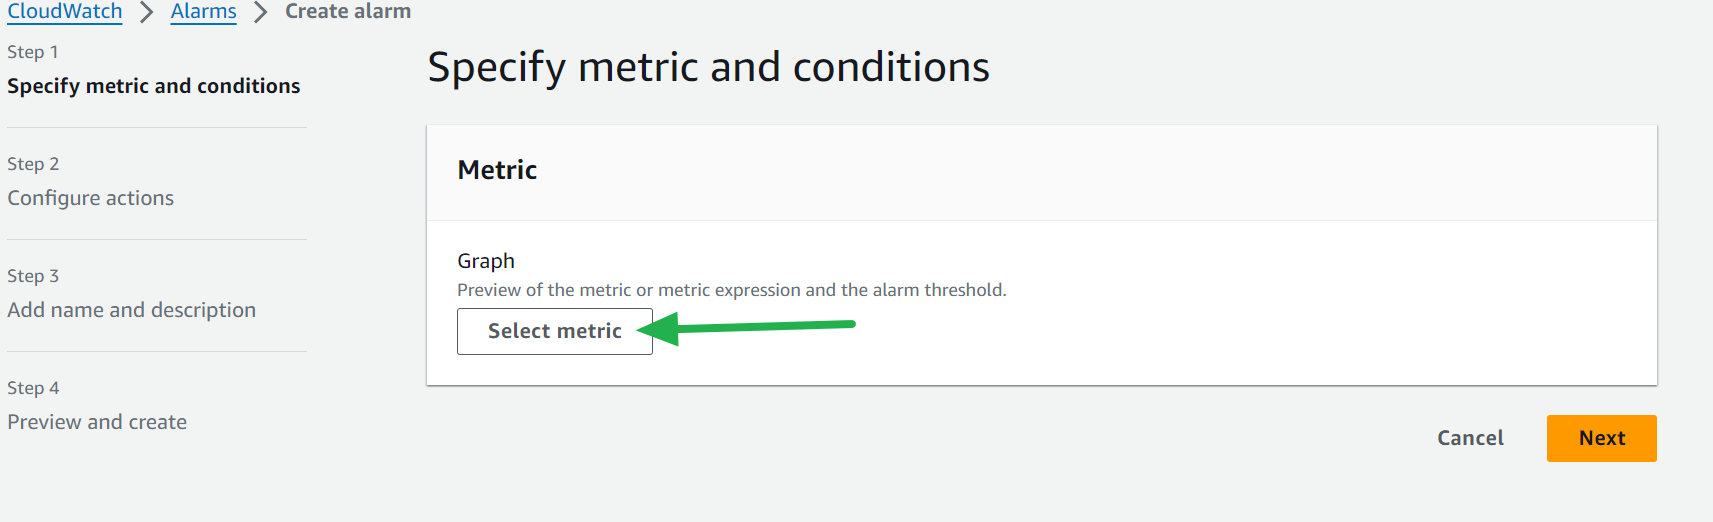
- Click the Select metric button.
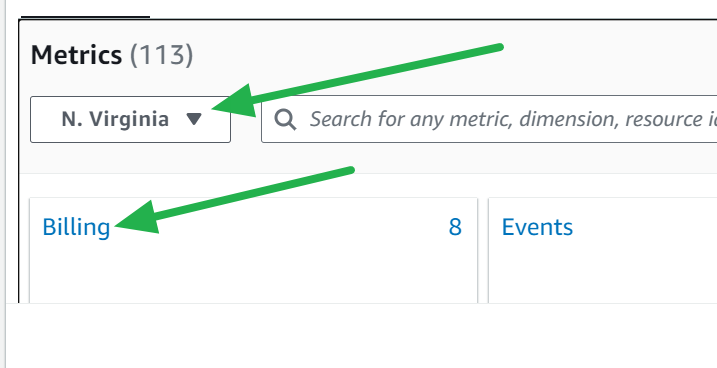
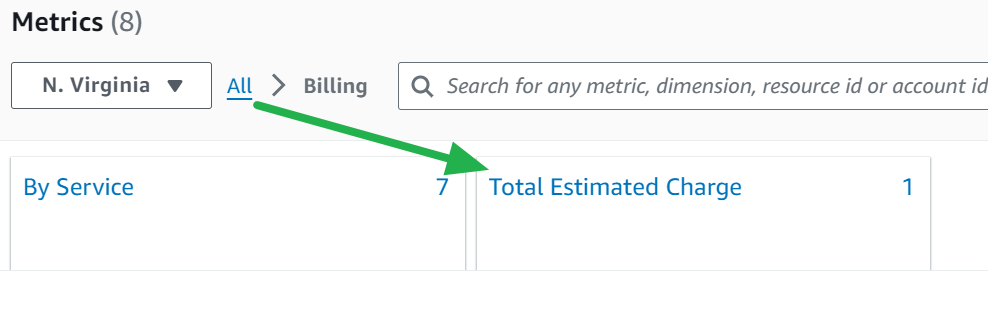
- Make sure the N. Virginia region is selected and click Billing.
- Select Total Estimated Charge.
- Check the box next to the new metric and click the Select metric button.

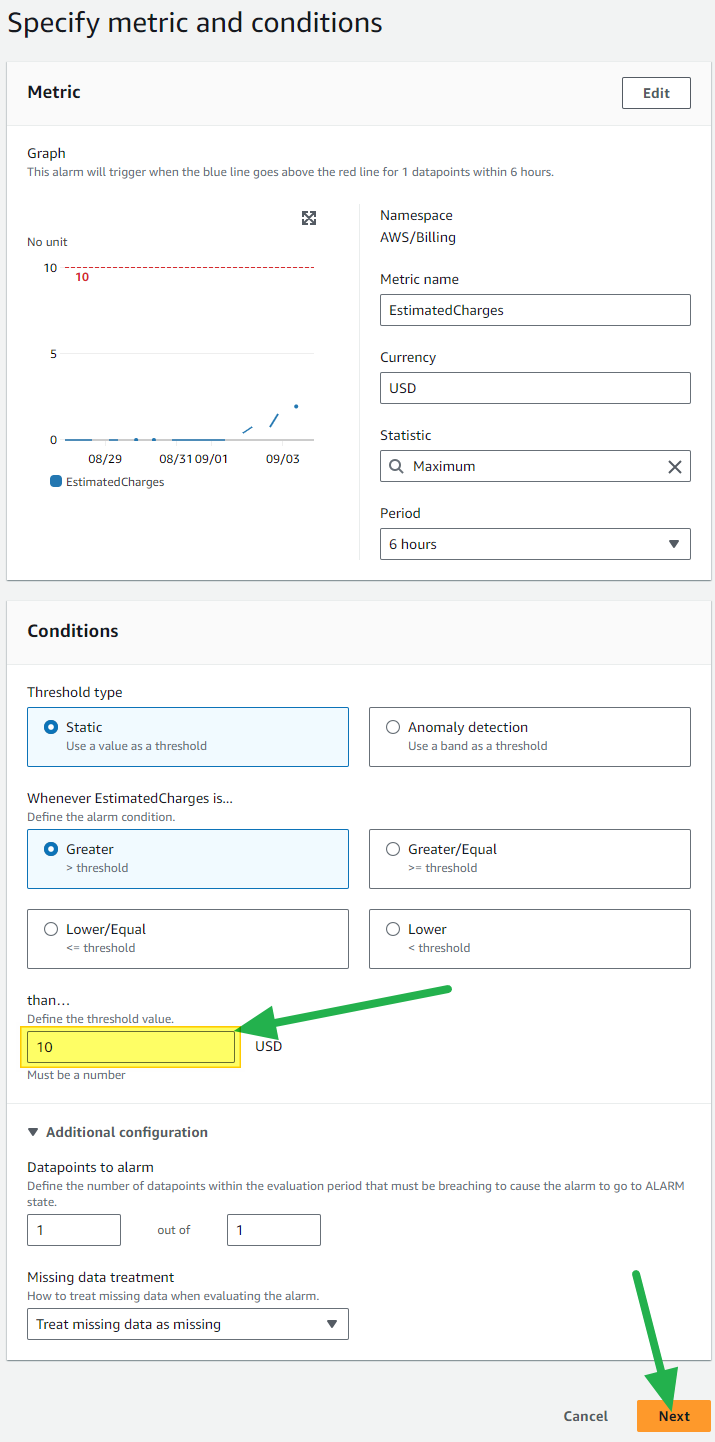
- For the metric and conditions you can leave everything default except for the value in the Conditions box, set this to the cost you want to trigger the alert then click the Next button.
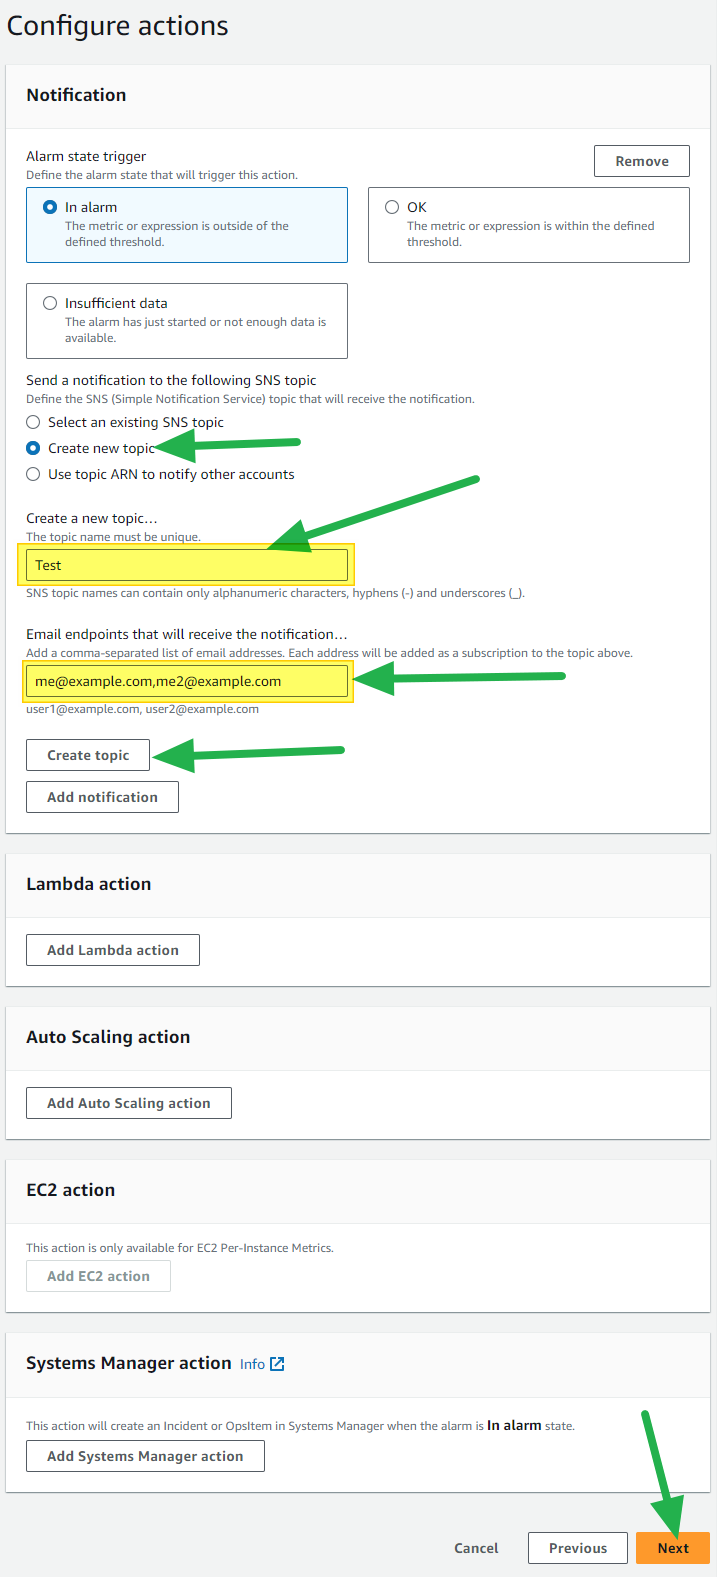
- Select Create new topic if you don't already have one and enter a name and e-mail address (comma separated), then click the Create topic button, then click the Next button.
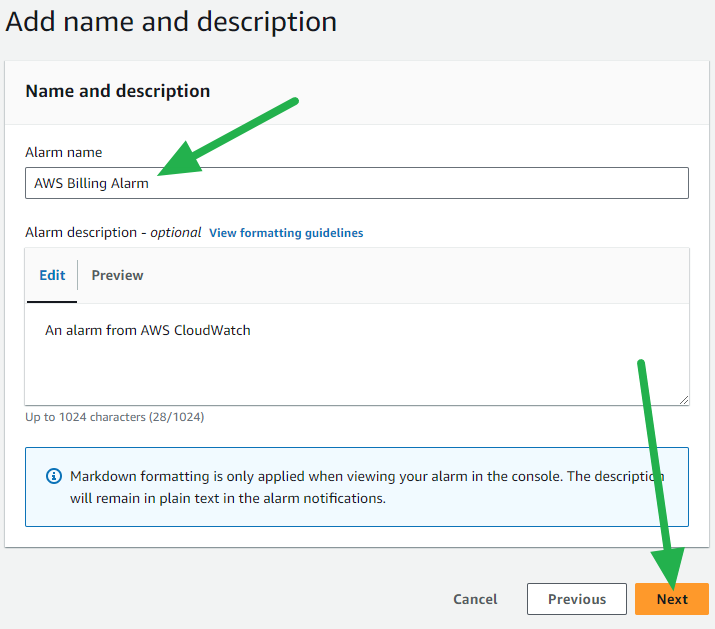
- Enter a name for the alarm (and an optional description if you'd like) then click the Next button.
- Review your alarm and then click the Create alarm button.
And there you have it, an alarm setup in CloudWatch for potential AWS bills exceeding a specific amount. The beauty is that now you've walked through this process you can setup other alarms to monitor so many other things! But what does this cost you might be asking? NOTHING! ZERO DOLLARS! AWS has a free tier that includes CloudWatch which is 100% free with the following limits:
- 10 Custom Metrics and 10 Alarms
- 1,000,000 API Requests
- 5GB of Log Data Ingestion and 5GB of Log Data Archive
- 3 Dashboards with up to 50 Metrics Each per Month
While those numbers might be small for a company that monitors thousands of services, it's a lot for personal usage and should easily cover all of your needs for monitoring billing and a few services.
This wraps up my posts focused on keeping your AWS billing in check, but I plan to have many more AWS (and other cloud) related posts coming soon including guides and reviews for specific services! Stay tuned and happy Clouding!
Go out and do good things!
-KuJoe