
Hello again, it's been a while but I wanted to put together a quick and easy guide to setting up Backblaze B2 to use on your Mastodon server. I chose Backblaze B2 because of price, it's $5 per TB with free outgoing bandwidth if you use Cloudflare. This guide will be strictly for using Backblaze B2 without Cloudflare, but if you want to use it with it and you're already using Cloudflare for your DNS then it's relatively simple to do. Since a lot of people avoid Cloudflare these days, this guide is for those users.
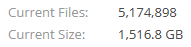
For smaller instances, this might be really helpful because the first 10GB of storage is free and the first 1GB of bandwidth is free each day. I was originally using AWS's S3 for my media, but the costs quickly got more than I was planning on spending so I switched to Backblaze B2 instead and it's now costing me less than $10/month for all of my media storage including bandwidth. My current usage as of this post is a little over 5 million files using 1.5TB of bandwidth.
I have Mastodon set to purge cached files older than 14 days so it really does add up. You can do this manually by running the following command in your /live/ directory:
RAILS_ENV=production bin/tootctl media remove --days 14
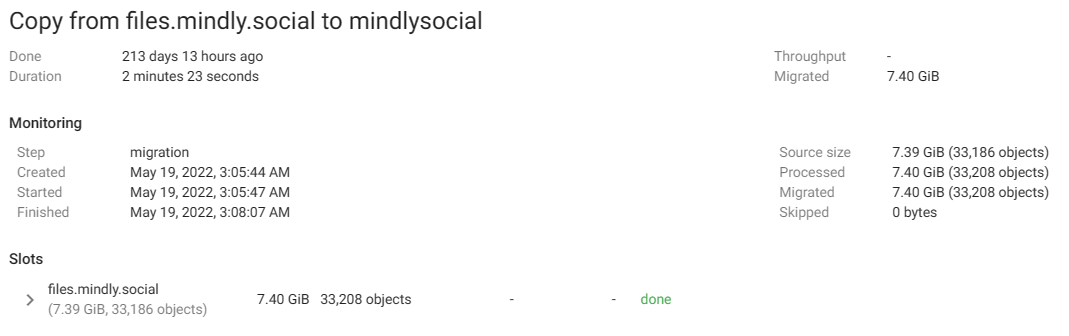
If you're currently using AWS S3 like I was and want to move over to Backblaze B2, here's a really good guide from Backblaze to make it easier to migrate your data: https://help.backblaze.com/hc/en-us/articles/360052039313-Getting-started-with-your-migration-from-Amazon-S3-to-Backblaze-B2
Configuring Backblaze B2
First you'll want to go ahead and create a Backblaze account and get logged in. From there you'll want to follow all of these steps:
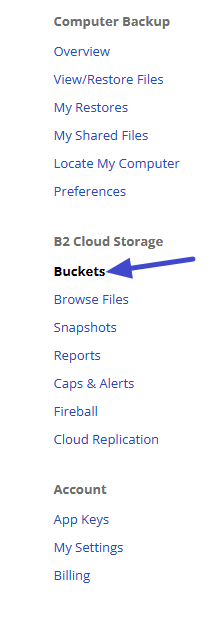
- Click on Buckets in the lefthand menu.
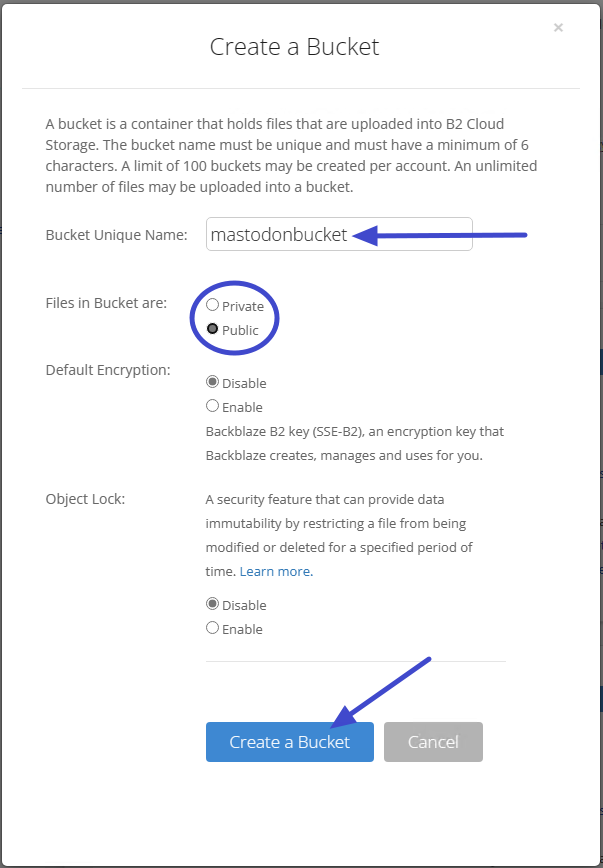
- Click the "Create a Bucket" button.

- Enter a unique name for the bucket, select Public, and leave the last 2 disabled. Now click the "Create a Bucket" button.
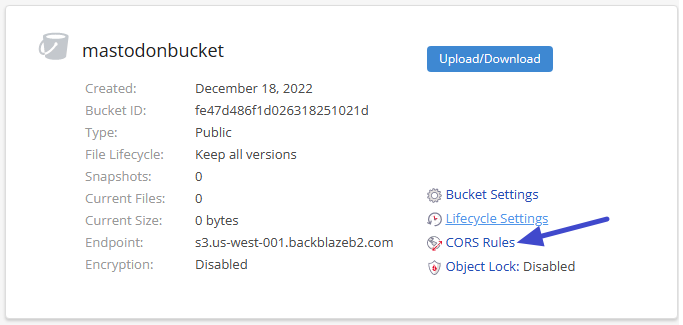
- Find your new bucket and click on the "CORS Rules" link.
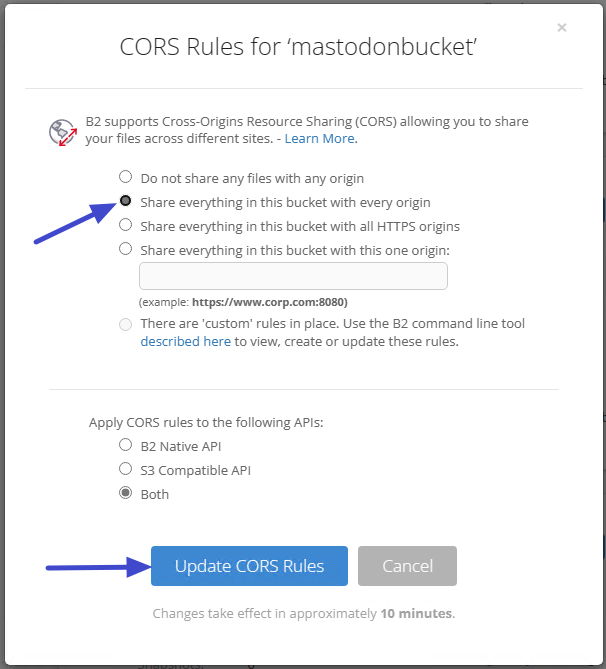
- Change the option to "Share everything in this bucket with every origin", leave "Both" checked, then click the "Update CORS Rules" button.
(This will allow all users to view the files in their browsers.)
- Click the "Lifecycle Settings" link.
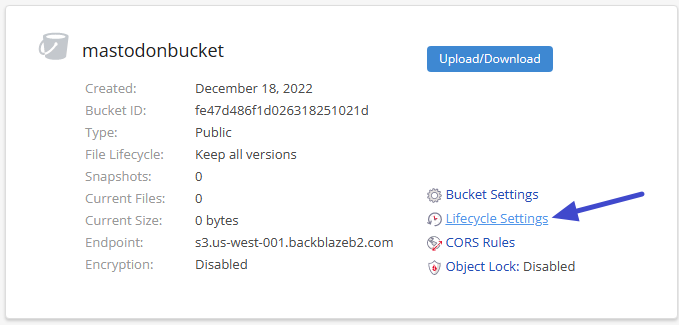
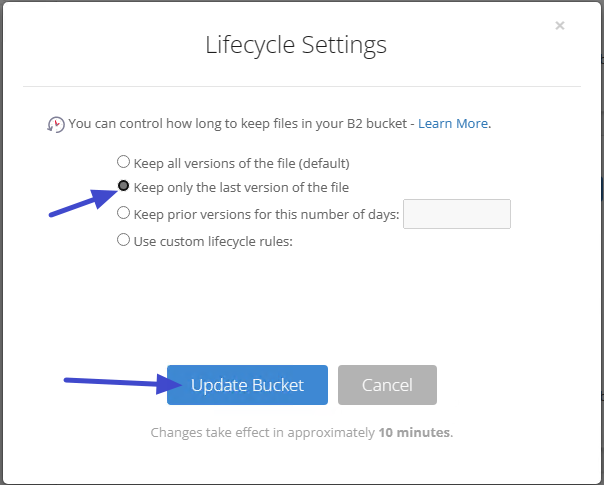
- Select the "Keep only the last version of the file" to save on storage costs, this is optional but highly recommended. Click the "Update Bucket" button.
- In the menu on the lefthand side, click on the "App Keys" link.
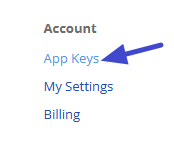
- Click on the "Add a New Application Key" link.

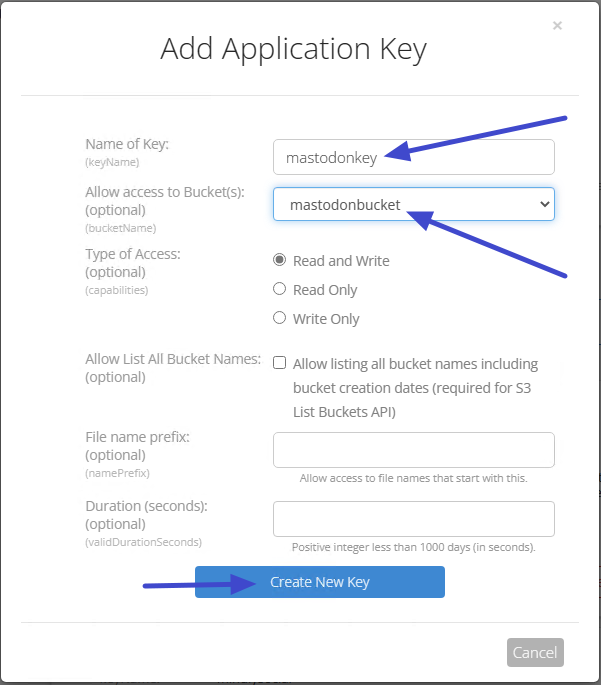
- Name this key something easy to identify, select the new bucket you created in Step 3, leave the rest defaults, and click the "Create New Key" button.
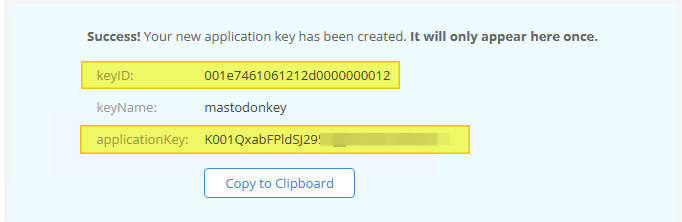
- Write down the keyID and applicationKey for later (if you forget the applicationKey you can delete and create a new key).
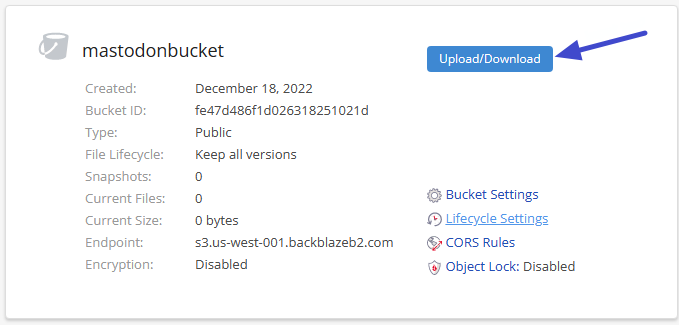
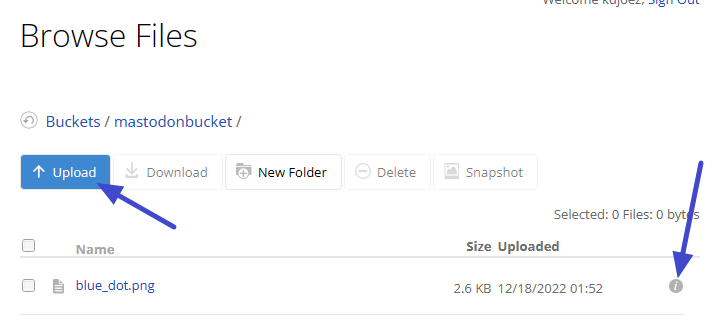
- Go back to the bucket you created and click the "Upload/Download" button.
- Upload any test file and once it completes click the info icon for that file.
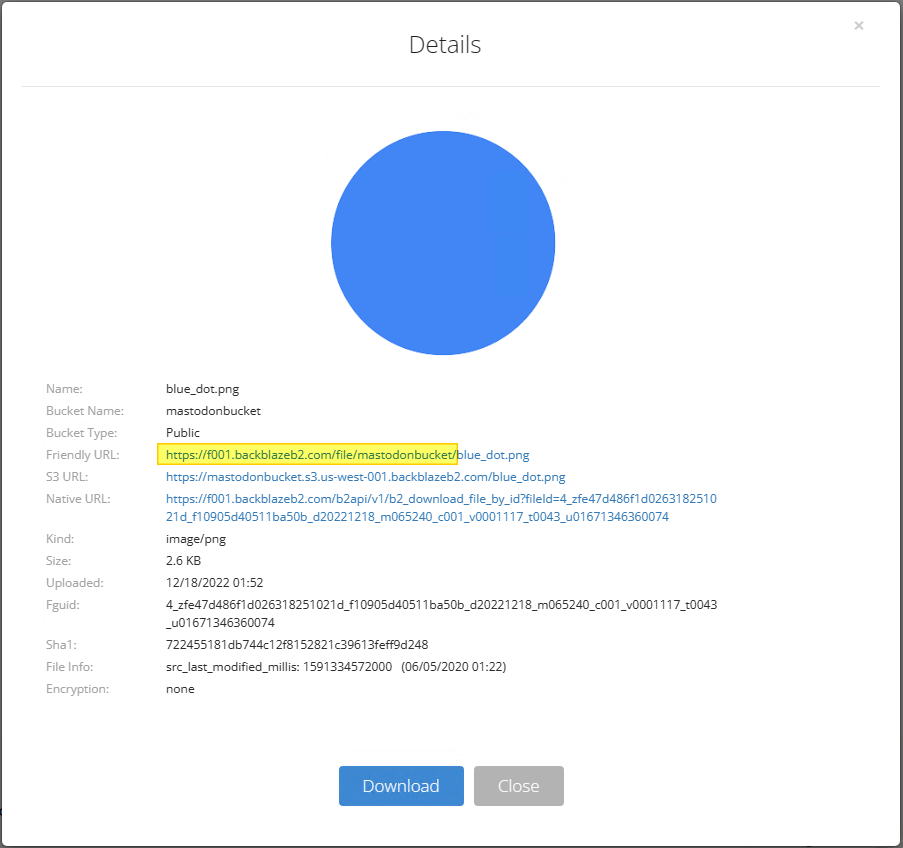
- Look for the "Friendly URL" and copy up to the filename. Remove the https:// and ending / for your friendly URL.
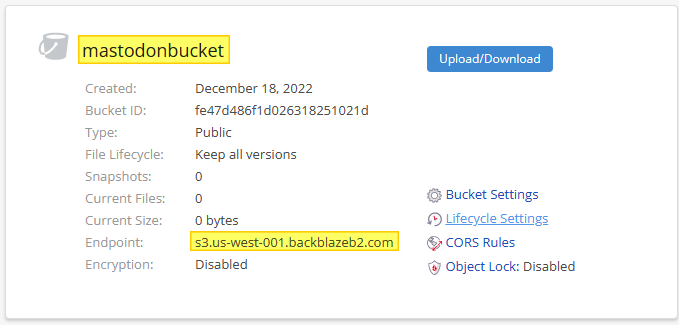
- Now go back to your bucket and write down your bucket name and the endpoint URL.
Configuring Mastodon
Now that your Backblaze B2 bucket is properly configured, login to your Mastodon server and let's add the settings there.
First thing you'll do is update your .env.production file in your Mastodon directory (by default it's /home/mastodon/live/) with the following details you wrote down from above:
S3_ENABLED=true
S3_BUCKET=mastodonbucket
S3_REGION=US-West
S3_HOSTNAME=s3.us-west-001.backblazeb2.com
S3_ENDPOINT=https://s3.us-west-001.backblazeb2.com
AWS_ACCESS_KEY_ID=<API_keyID>
AWS_SECRET_ACCESS_KEY=<API_applicationKey>
S3_ALIAS_HOST=f001.backblazeb2.com/file/mastodonbucket
NOTES:
- S3_REGION is the part after "s3." in your Endpoint so s3.us-west-001 would be US-West and s3-us-east-001 would be US-East
- S3_HOSTNAME is just the S3_ENDPOINT without the "https://" on it.
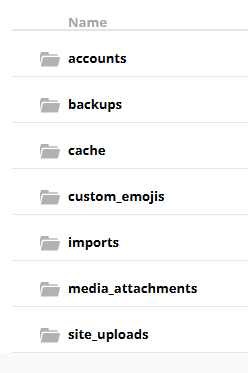
Once you've updated your .env.production file you can upload all of your files from your /public/system folder (default is /home/mastodon/live/public/system/) to your new bucket and the root of your new bucket should look like this:
Once your files are uploaded to the new bucket, restart the Mastodon services on your server to start using your new Backblaze B2 object storage:
sudo systemctl restart mastodon-*.service
That's it, your Mastodon server is now using Backblaze B2 for your media files and you should see new files being added to this.
For those of you interested in using Cloudflare and Backblaze to build your own CDN (free bandwidth), you can follow this guide: https://www.backblaze.com/blog/free-image-hosting-with-cloudflare-transform-rules-and-backblaze-b2/
Lastly, I'd like to mention that Backblaze's B2 has data replication so you can replicate your files across multiple datacenters. I have not played with this yet, but it seems like a viable option for redundancy, but it will probably double the costs as well. I need to research this more but it's worth noting still.
Go out and do good things! 👍
-KuJoe